Smash Ultimate Tier List Rankings
Build a Smash Ultimate tier list by ranking the complete fighter roster from S to D.


























































































Read the Smash Ultimate Tier List as a set of matchup questions
The Smash Ultimate Tier List helps you compare fighters through neutral, advantage, disadvantage, and recovery. Start with an interaction you want to improve: an intercepted approach, a difficult landing, or a recovery route the opponent keeps covering. The order is a reference built from submitted rankings, and your matchup priorities can differ. The Top, High, High Mid, Mid, Low Mid, and Bottom groups give you landmarks for comparing toolkits. Look across neighboring groups for alternatives, then ask how often each fighter reaches a favorable situation and what happens when the opponent forces a different kind of exchange.

Interpret the six Smash tier labels
Read the six groups through neutral, advantage, disadvantage, and recovery. Compare the same matchup situation at similar spacing, then examine how each fighter returns to a useful position after an unsuccessful attempt.
Reading prompt | Matchup check | |
|---|---|---|
| Top | Investigate the strongest broad impressions. | Which options remain useful when the opponent knows the matchup? |
| High | Look at the boundary near the upper group. | Does a recurring weakness require a more specific adjustment? |
| High Mid | Examine the trade-off between strengths and difficult situations. | Compare the setup and trade-offs under the same conditions. |
| Mid | Look for a workable plan against the opponent. | Which interactions reward preparation more than a broad row suggests? |
| Low Mid | Identify the situations that repeatedly limit the game plan. | Are approach, disadvantage, or recovery demands creating the problem? |
| Bottom | Check the limitations without declaring play pointless. | What would a practiced player still need the opponent to respect? |
Neutral and recovery can tell different stories
A fighter can feel comfortable while controlling center stage and much less comfortable after being pushed off it. Another can survive difficult positions but struggle to begin an offense. Reading only the most exciting advantage sequence hides those differences. When you inspect the Smash Ultimate Tier List, ask how often a fighter reaches a favorable position and what the opponent can do to prevent it. Then ask what happens when that plan fails. Recovery routes, landing options, and the ability to reset neutral all belong in the comparison. Describe the repeated interaction when explaining why your personal order changes.
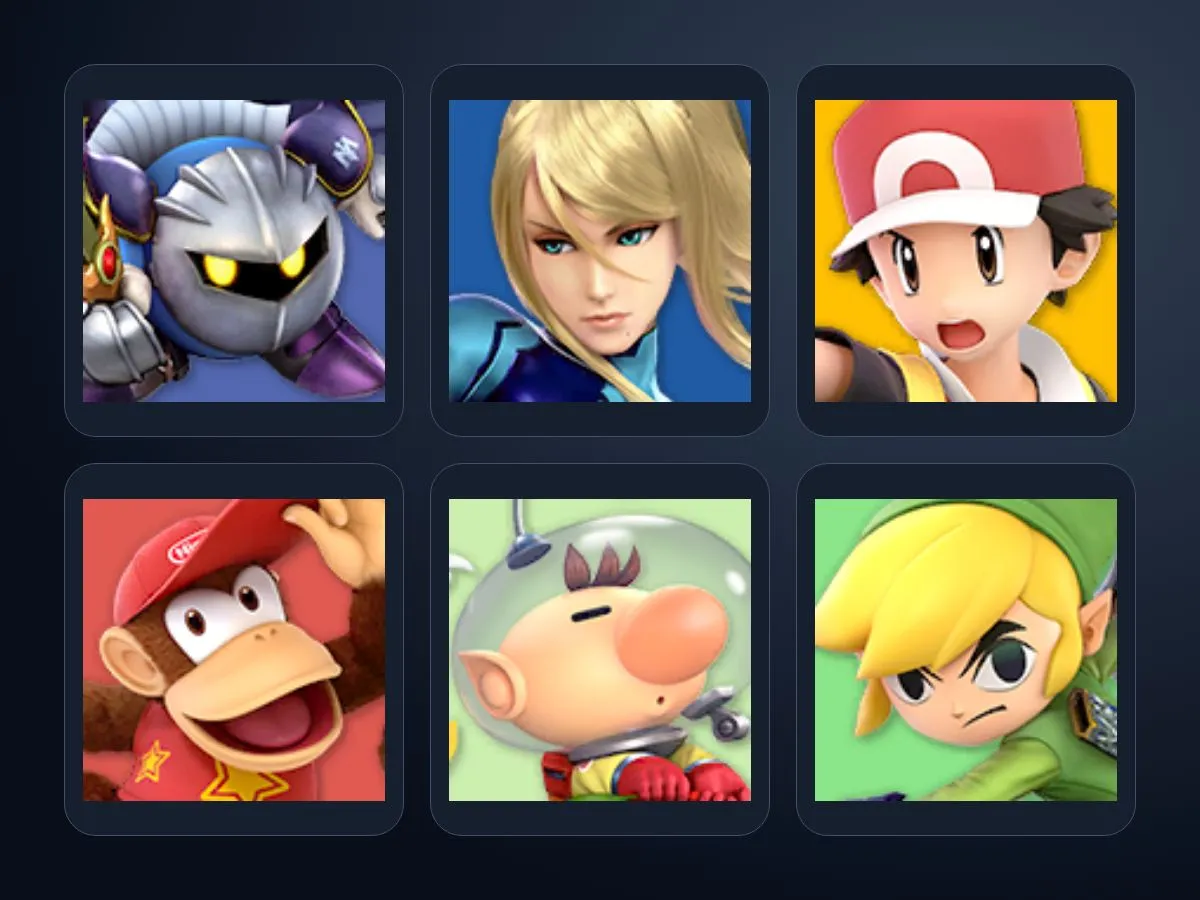
Questions to settle before debating a Smash placement
Turn one difficult interaction into a useful remix
Locate the recurring interaction
01Find a situation that happens repeatedly: an approach is intercepted, a landing is covered, or a recovery route is punished. Describe the spacing and the opponent response. One unusual stock is less useful than an interaction you can reproduce.
Compare the relevant tools
02Compare how each fighter approaches the recurring interaction and what the opponent can do in response. Test spacing, defensive choices, and recovery after a failed attempt. Include a complete exchange so the reward and the risk receive equal attention.
Share the condition with the revision
03Remix the ranking around the situation you tested. Adjust the choices affected by your observations and explain the role, timing, and support you assumed. Open the Maker when you want to evaluate the available options from your own starting point.
Make a matchup note you can practice tomorrow
Record the spacing and action that start a recurring problem. Then test a small adjustment: delay the approach, choose another landing route, or change the timing of a recovery. Give the opponent a realistic response so you learn which choices remain useful after adaptation. Return to the Smash Ultimate Tier List when you want to compare how different toolkits handle that same exchange. Before adding a secondary, decide whether a change in your current play already addresses the issue. Revisit your personal order when your ruleset, stage choices, or matchup experience changes. A clear practice note turns a ranking disagreement into a useful session. A secondary adds practice demands as well as new tools. Describe the matchups and situations you want it to cover, then compare how its neutral and recovery differ from your main. Test whether the alternative solves the original problem while leaving you comfortable in other common exchanges. The Smash Ultimate Tier List helps you narrow the initial search, and replay review shows where the extra toolkit would matter. Include your ruleset and stage assumptions when sharing the result. Evaluate a complete stock, from earning the opening to surviving disadvantage, so the decision reflects the situations you regularly face rather than one appealing combo sequence.